Getting Started
Thanks for your purchase of our plugin. This guide is a quick tutorial for how to get started and create your first affiliate link.
Installation
Getting started is quick and easy:
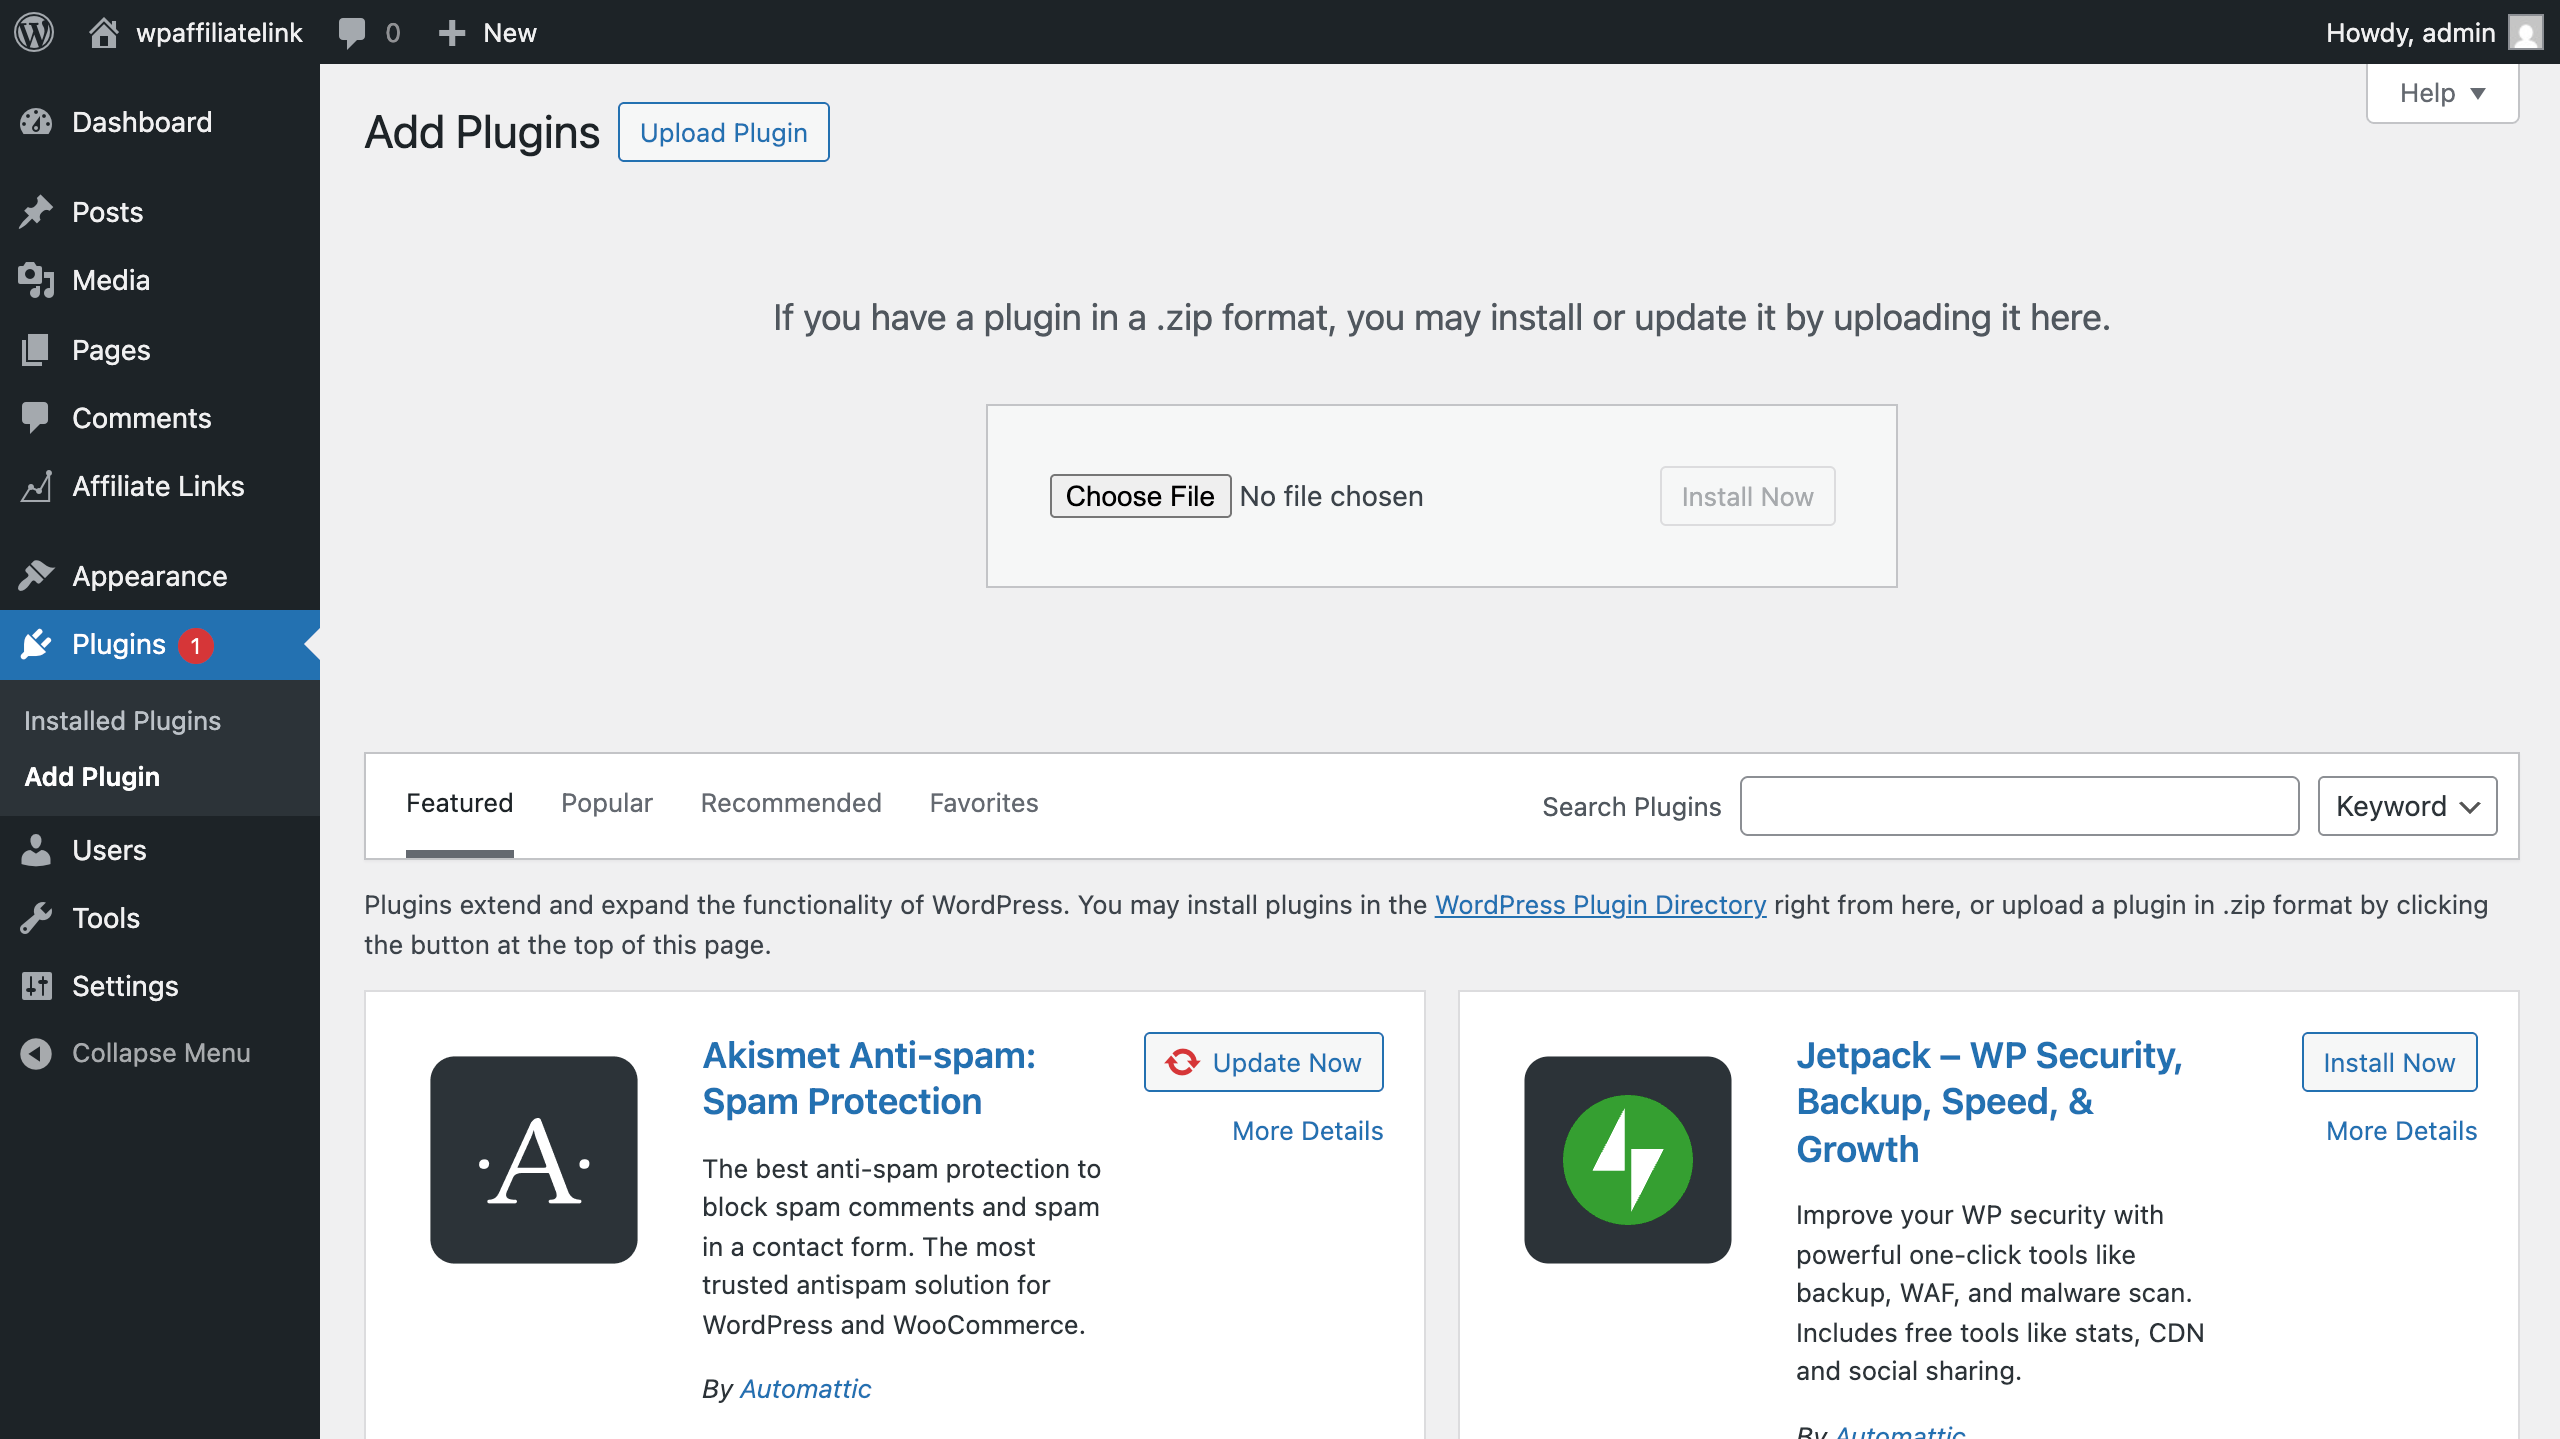
- Log in to your WordPress dashboard
- Navigate to Plugins > Add Plugin > Upload Plugin > Choose File
- Select the zip file you received from your purchase
- Click Install Now
-
Once installation completes, click Activate
Activation
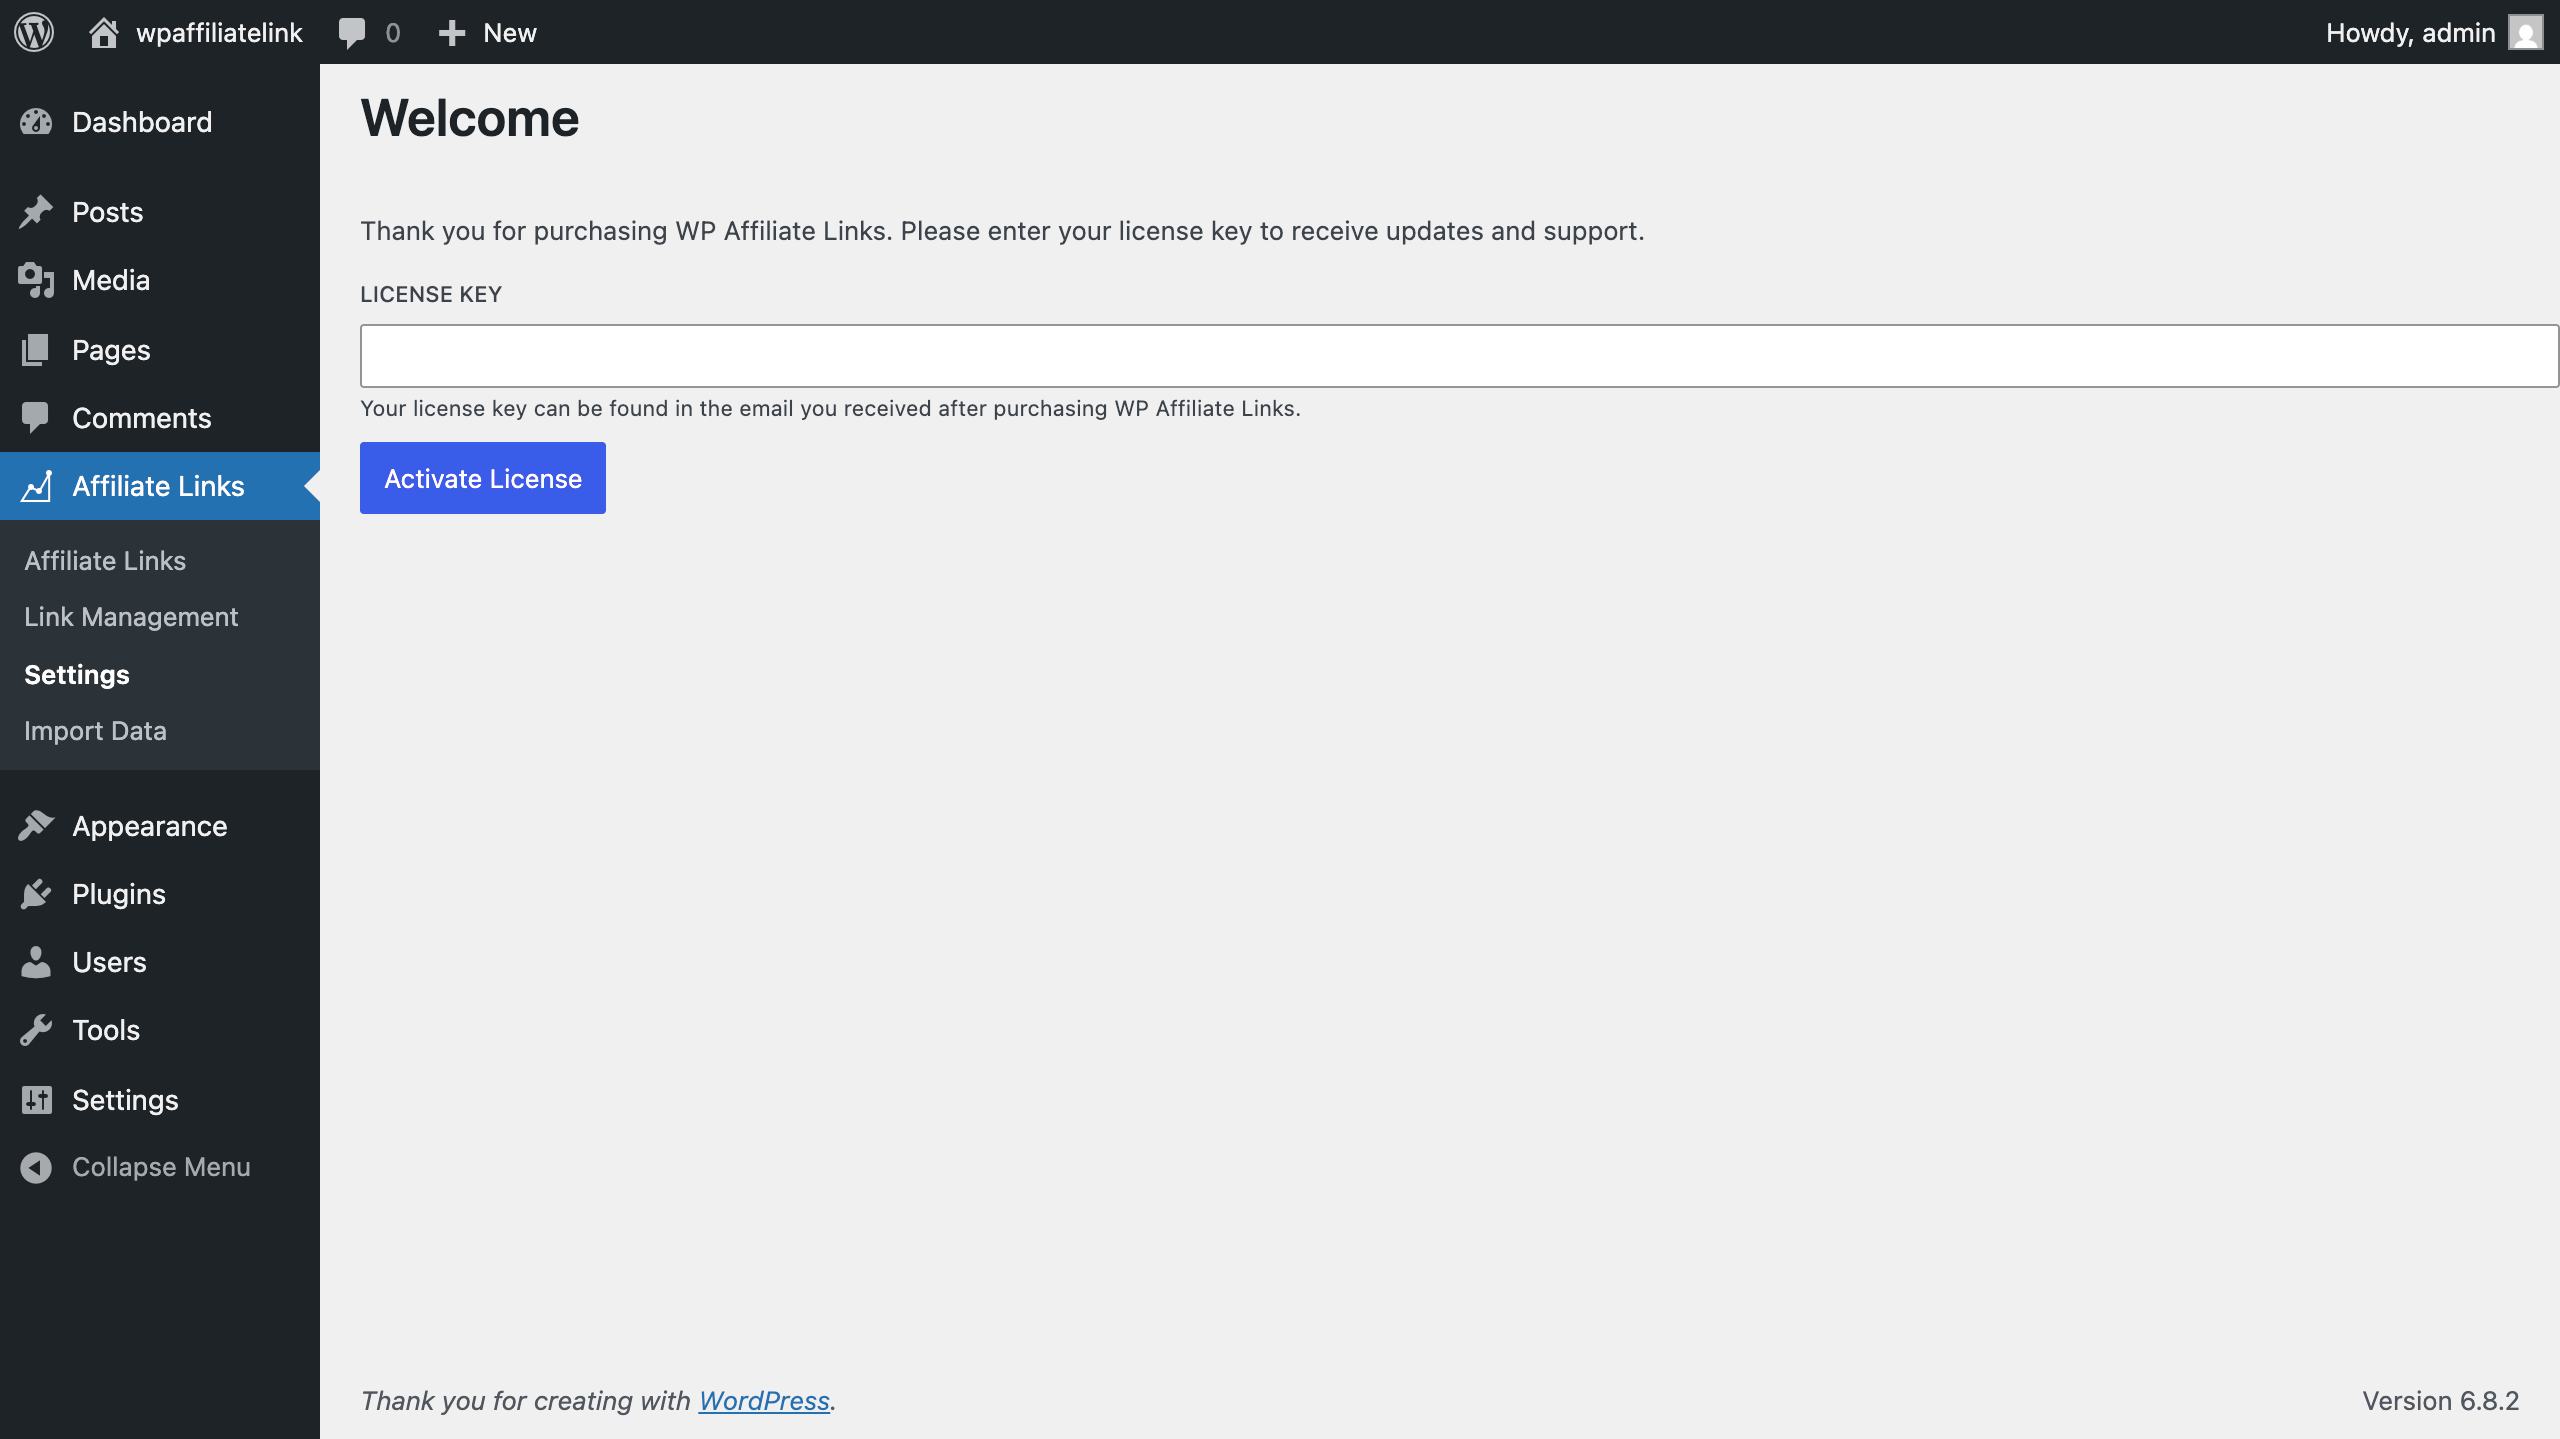
After installation, you’ll need to activate your plugin:
- Navigate to the Affiliate Links section in your Admin panel
- Enter the license key from your email or receipt
-
Once validated, you’ll have access to all features and updates
Settings
In the plugin settings, you can configure many options, but none of them are required for creating your first link.
Creating links
Links can be created in two ways, from the Link Management tab in the plugin, or from within the post editor itself. For simplicity, we will cover the Link Management option.
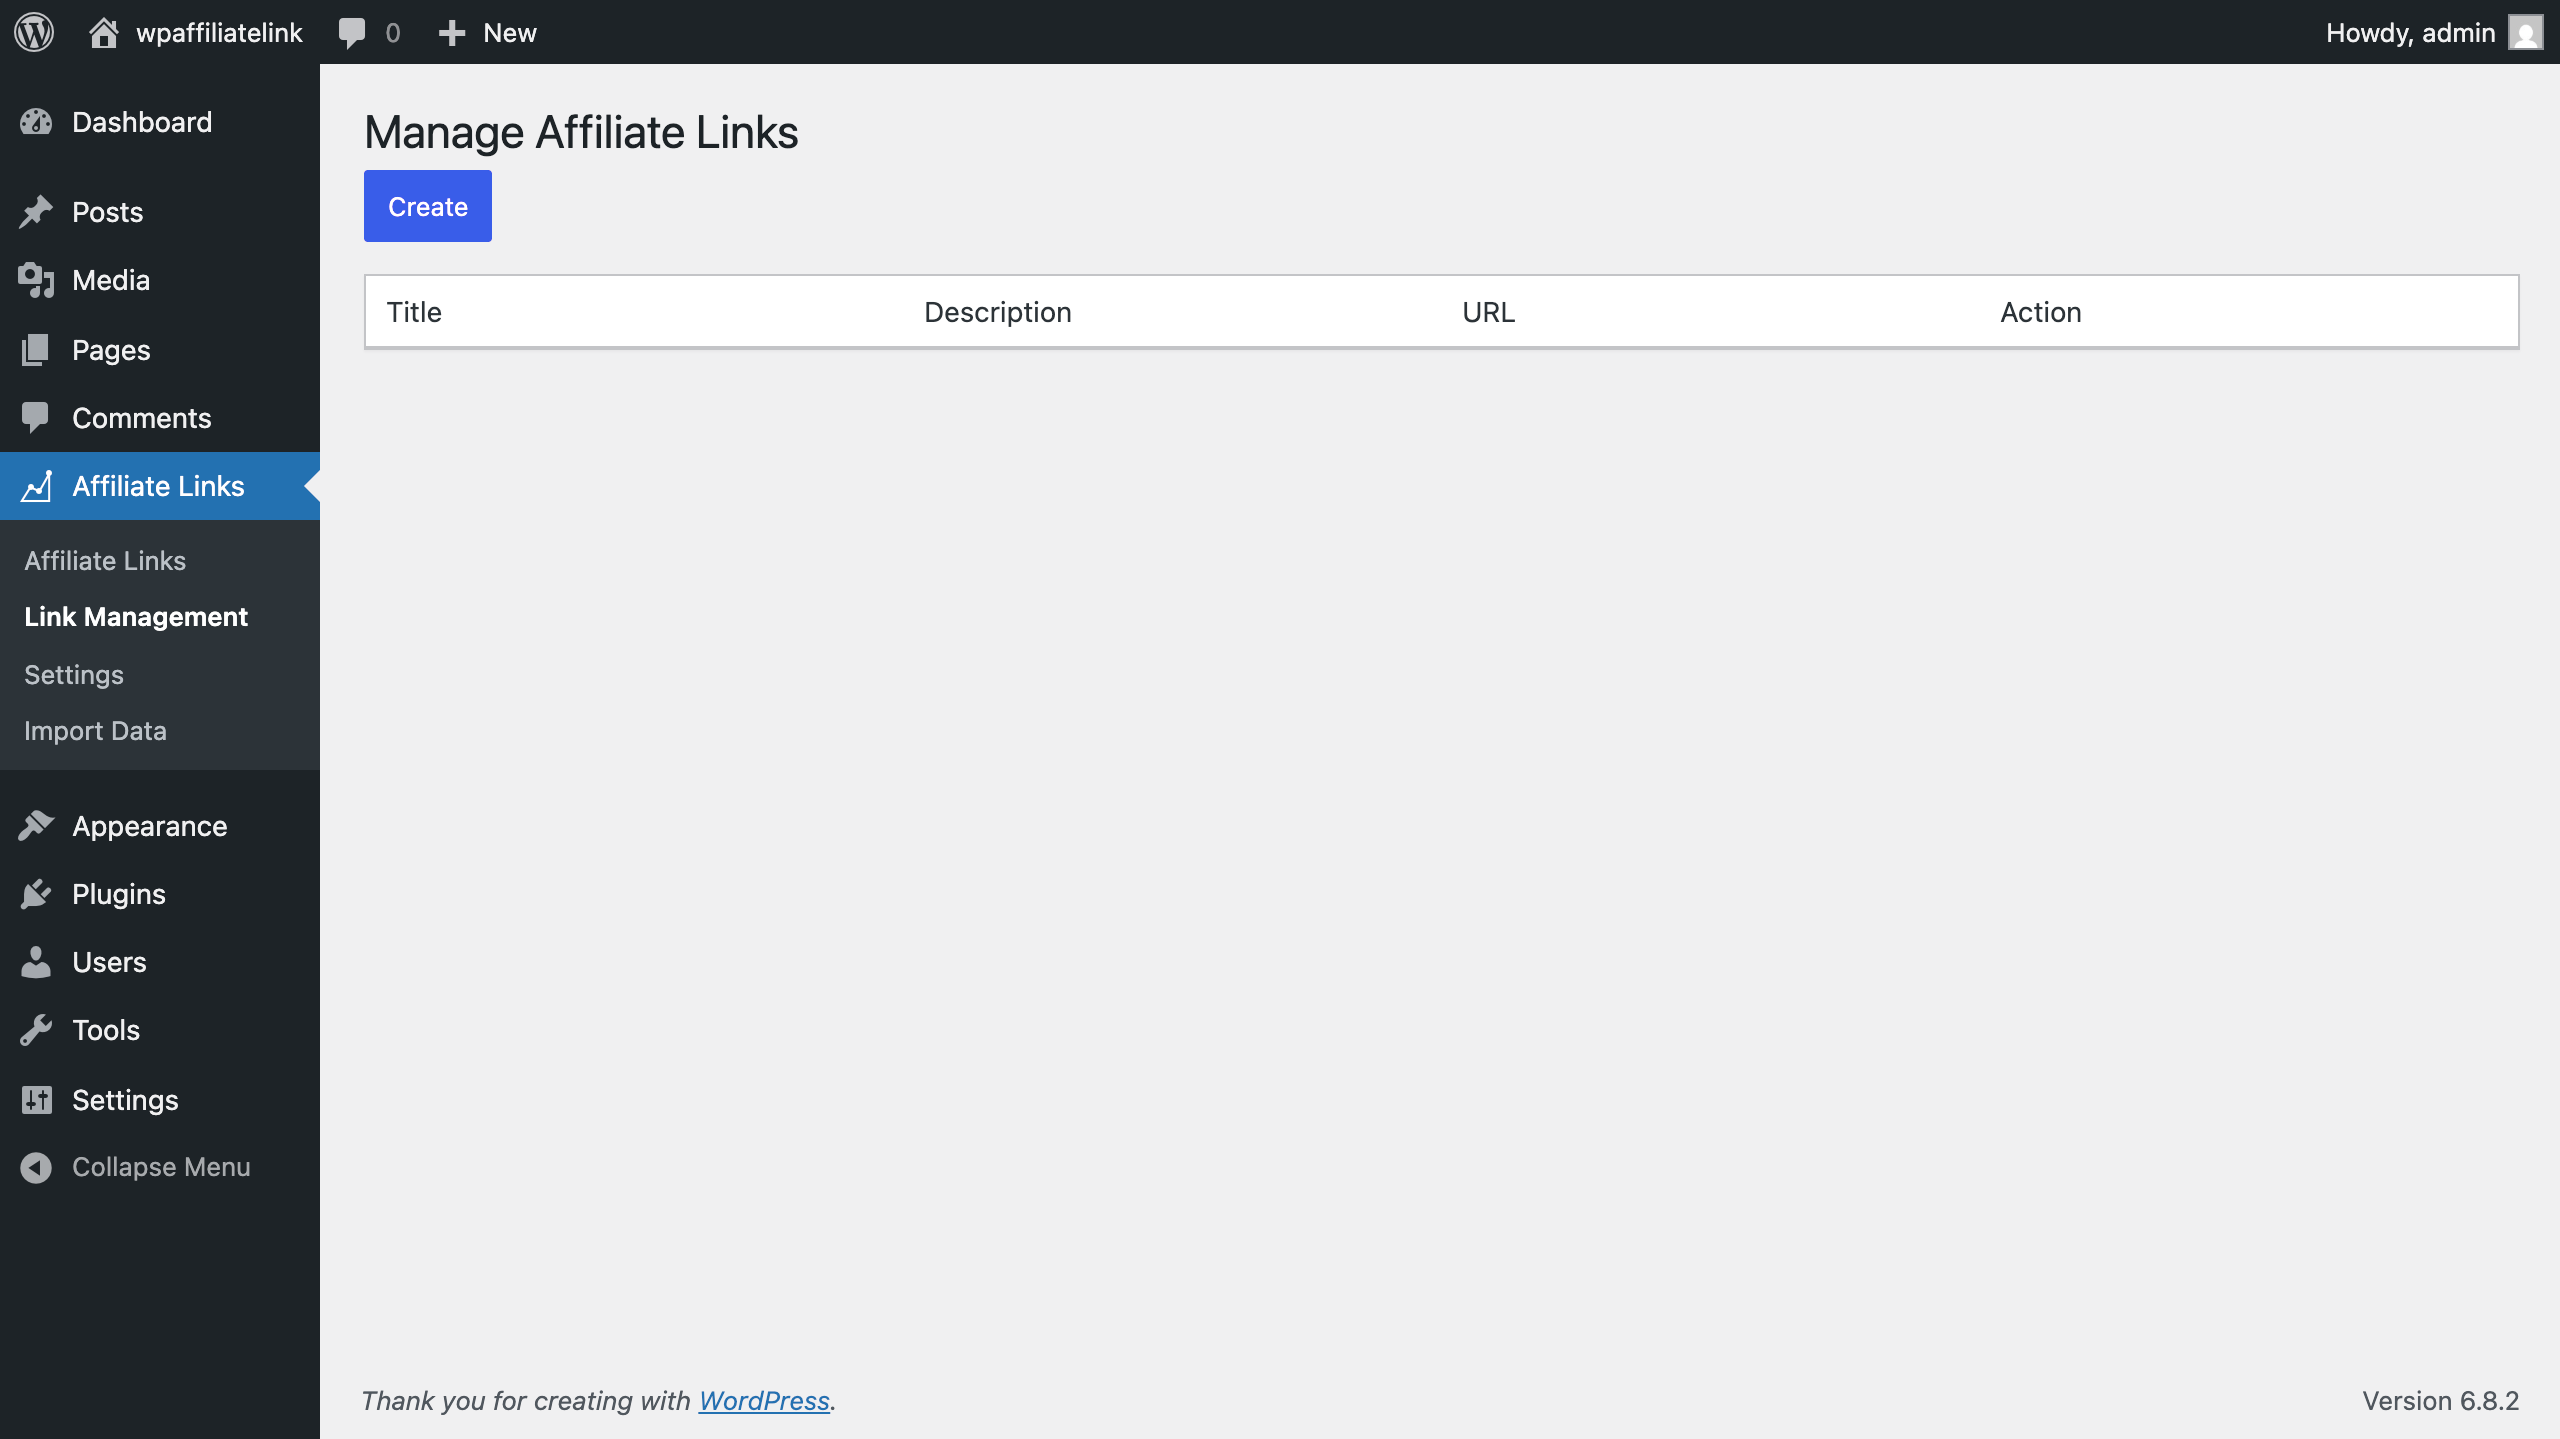
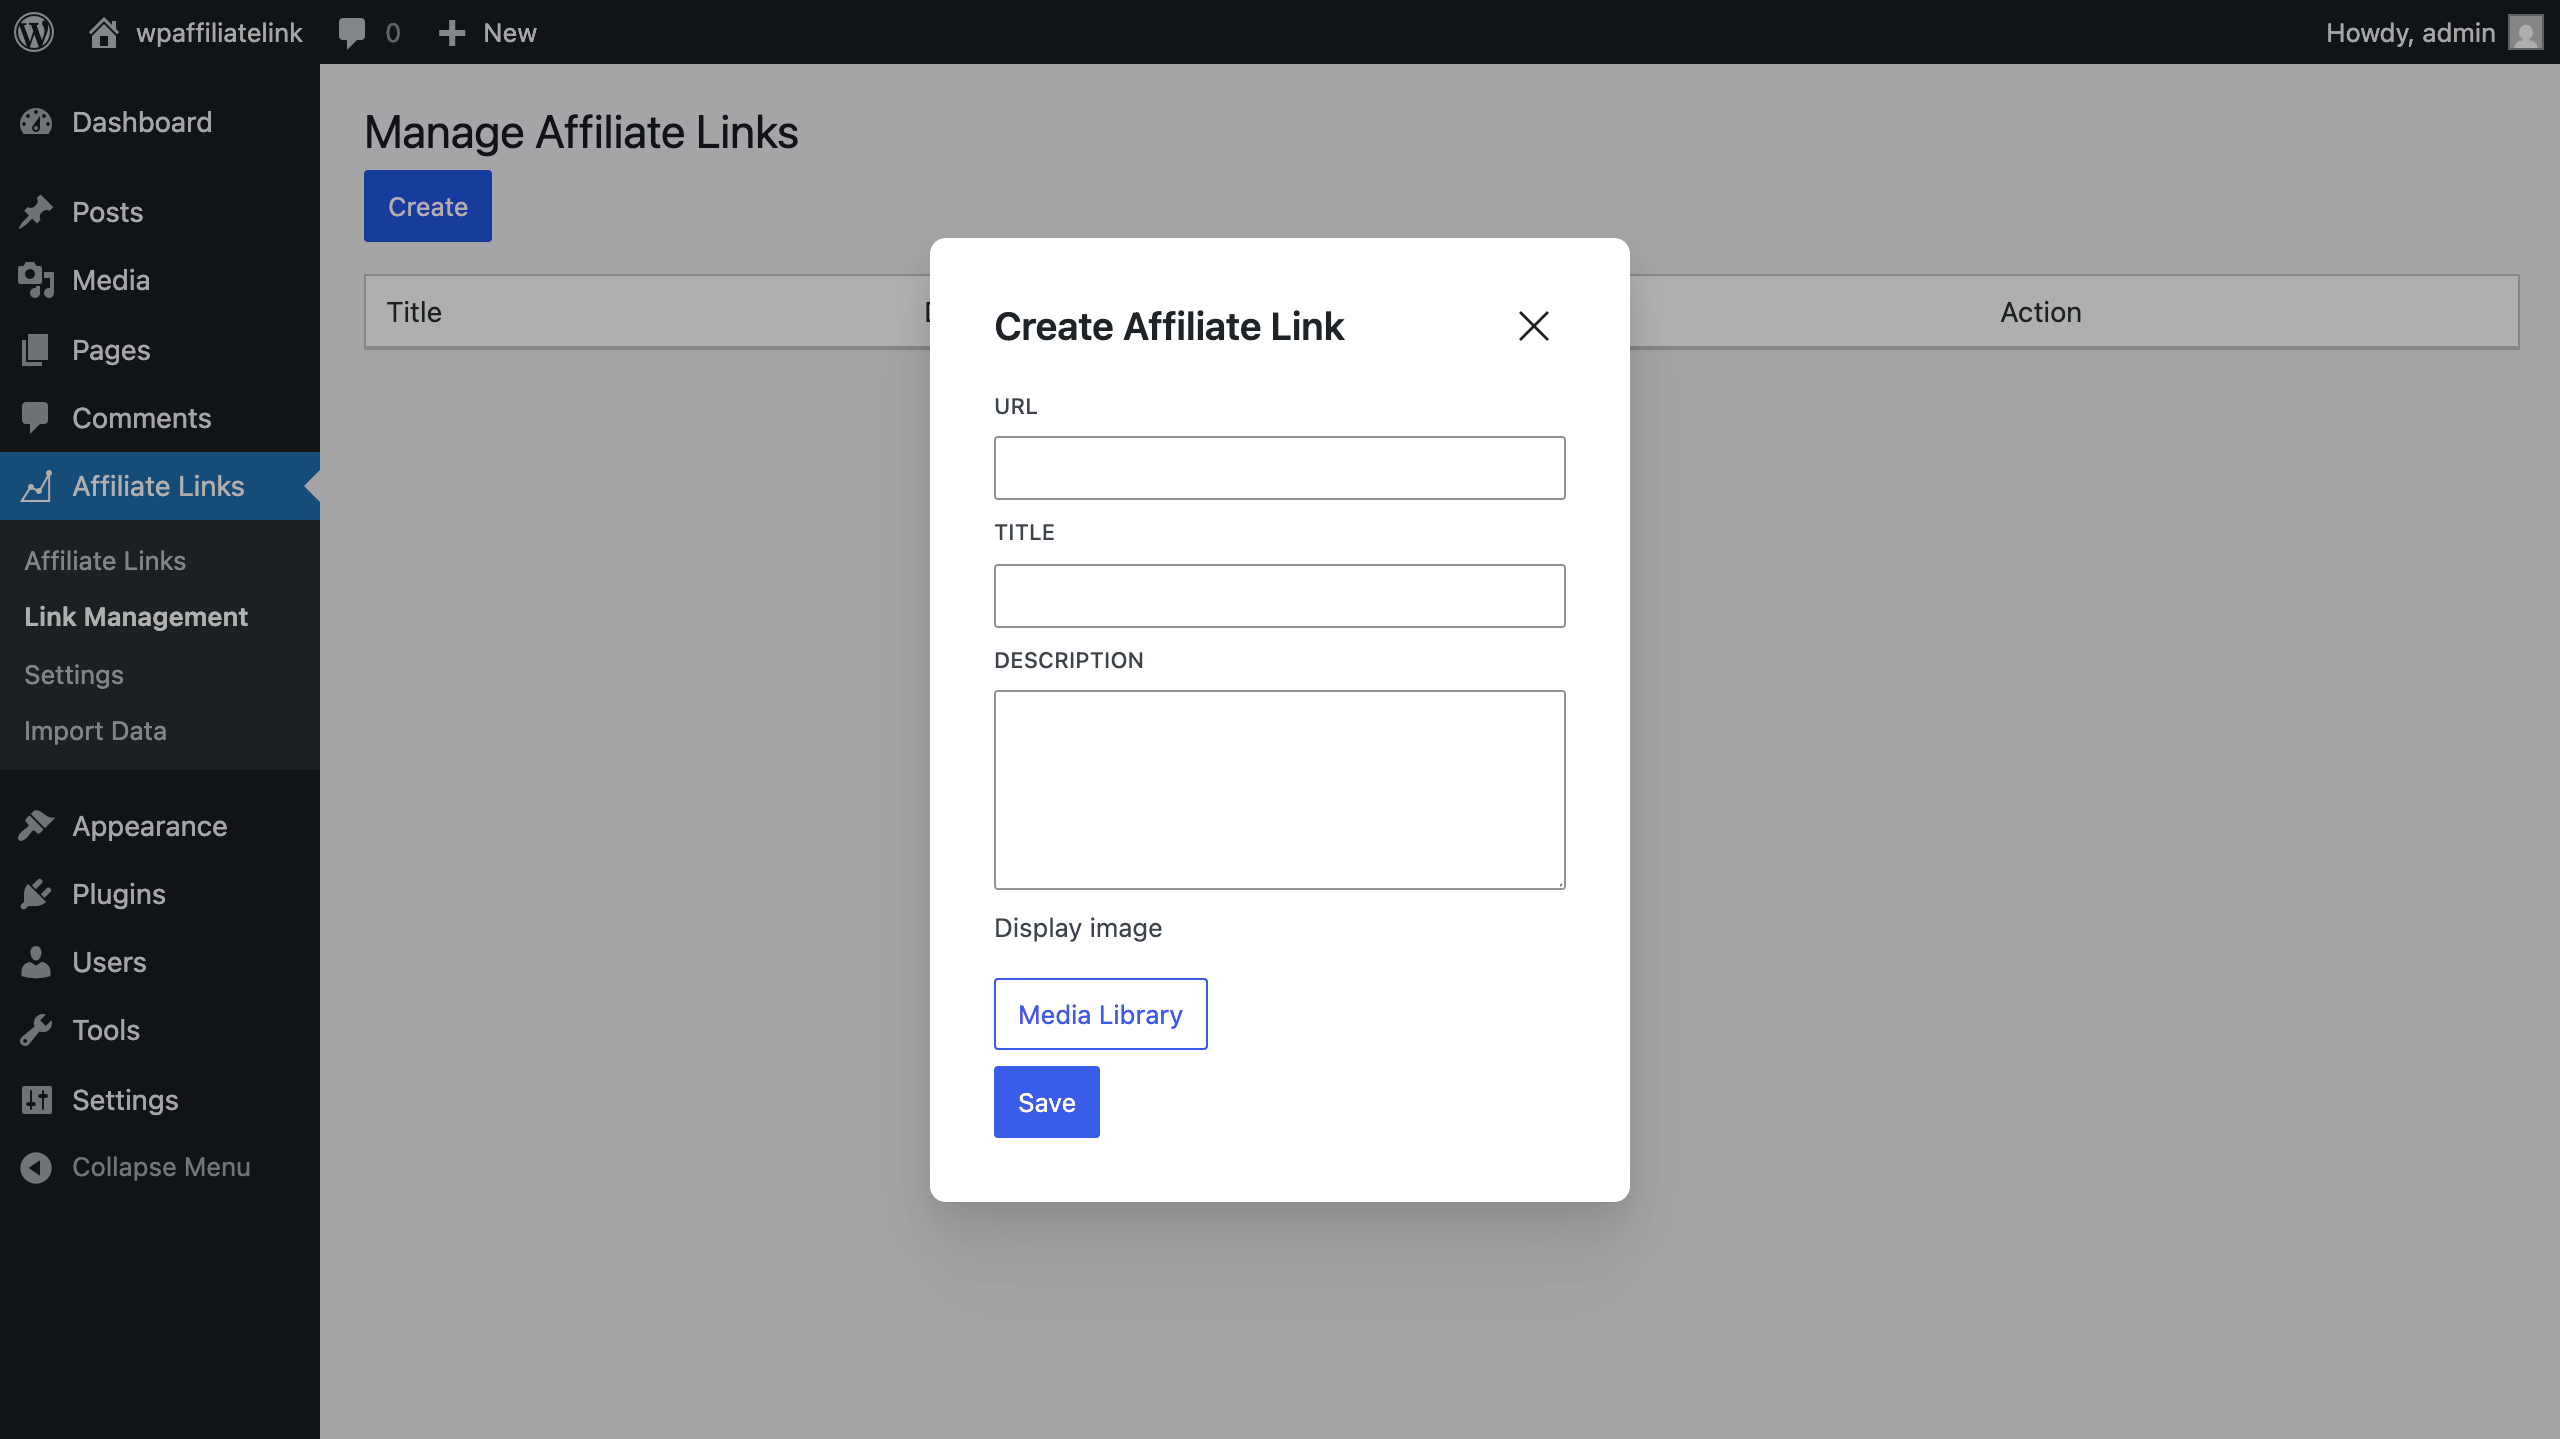
- Click Create from the Link Management tab
- Fill out the text inputs as desired
-
Select an image to represent this product. If you’ve connected your Amazon partner credentials, then you can select from the Amazon product images, or an image from your media library. If you’re not using our Amazon integration, then you can use an image from your Media Library.
-
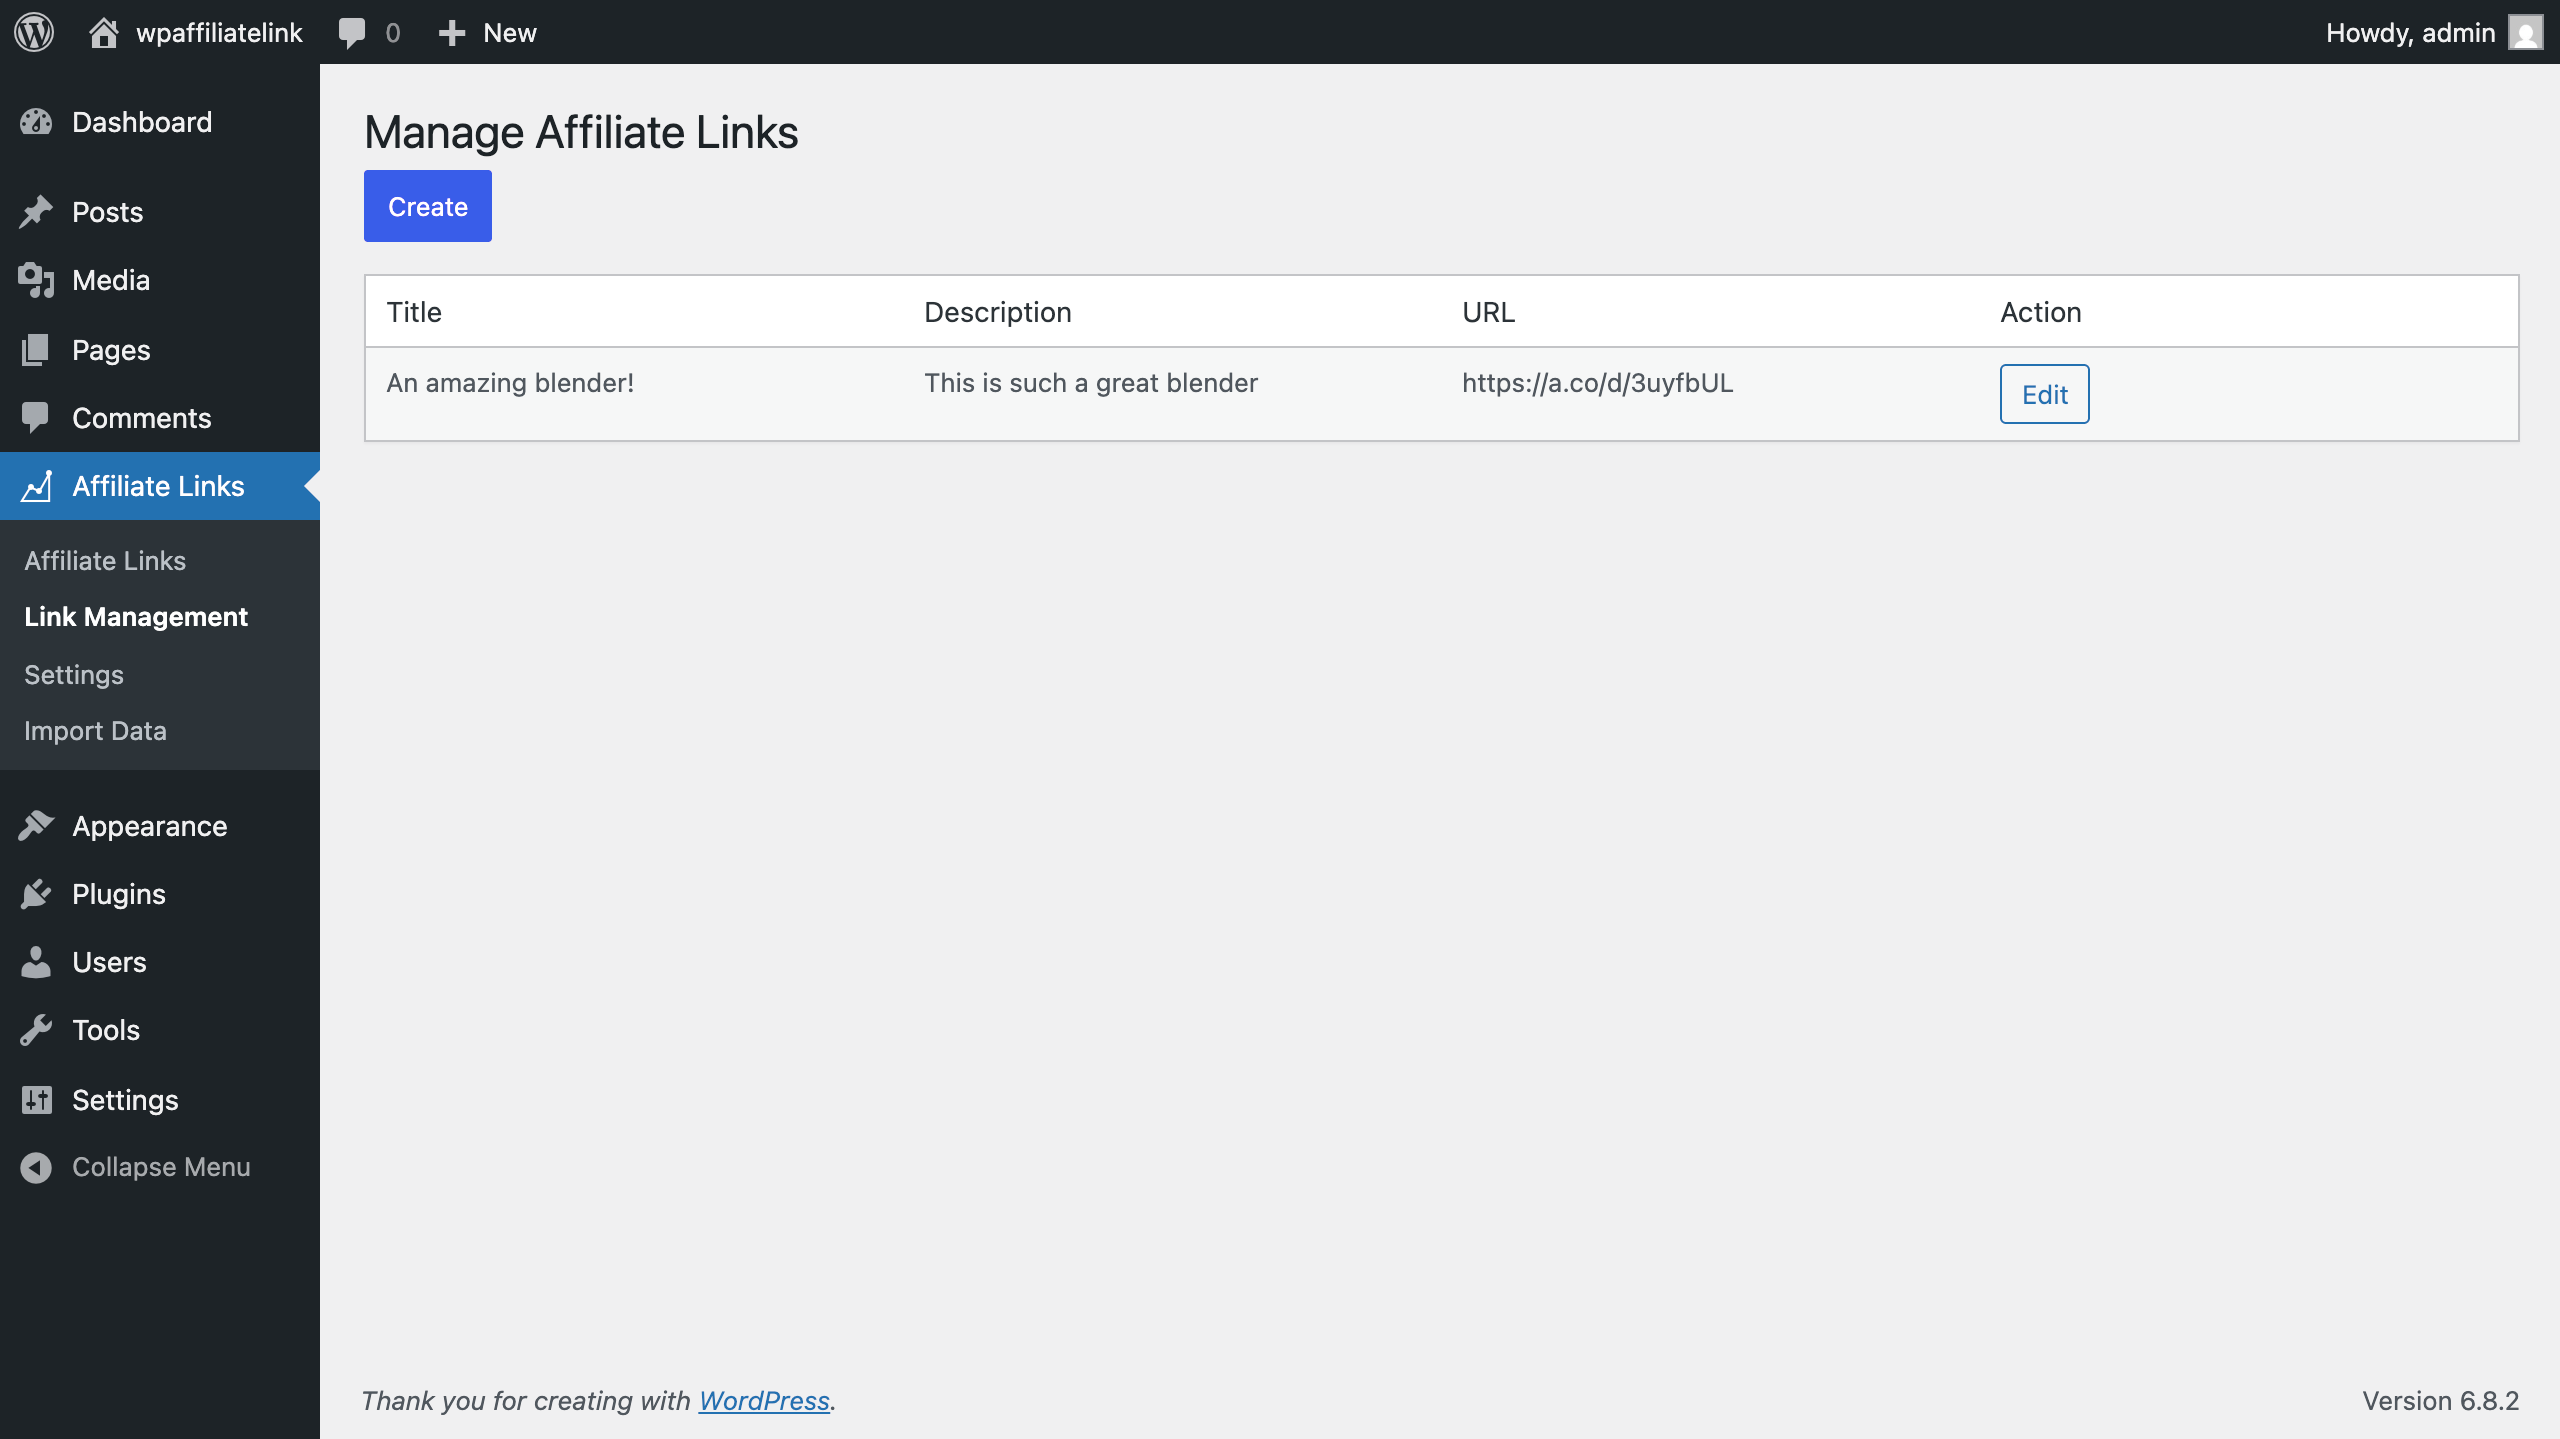
You can edit your links at any time, and any changed will reflect instantly across all connected posts.
Using Links
Once you have a link to use, you can use it into any post.
- Navigate to a post in the editor
-
Use the block
/wpalto create a new WP Affiliate Links block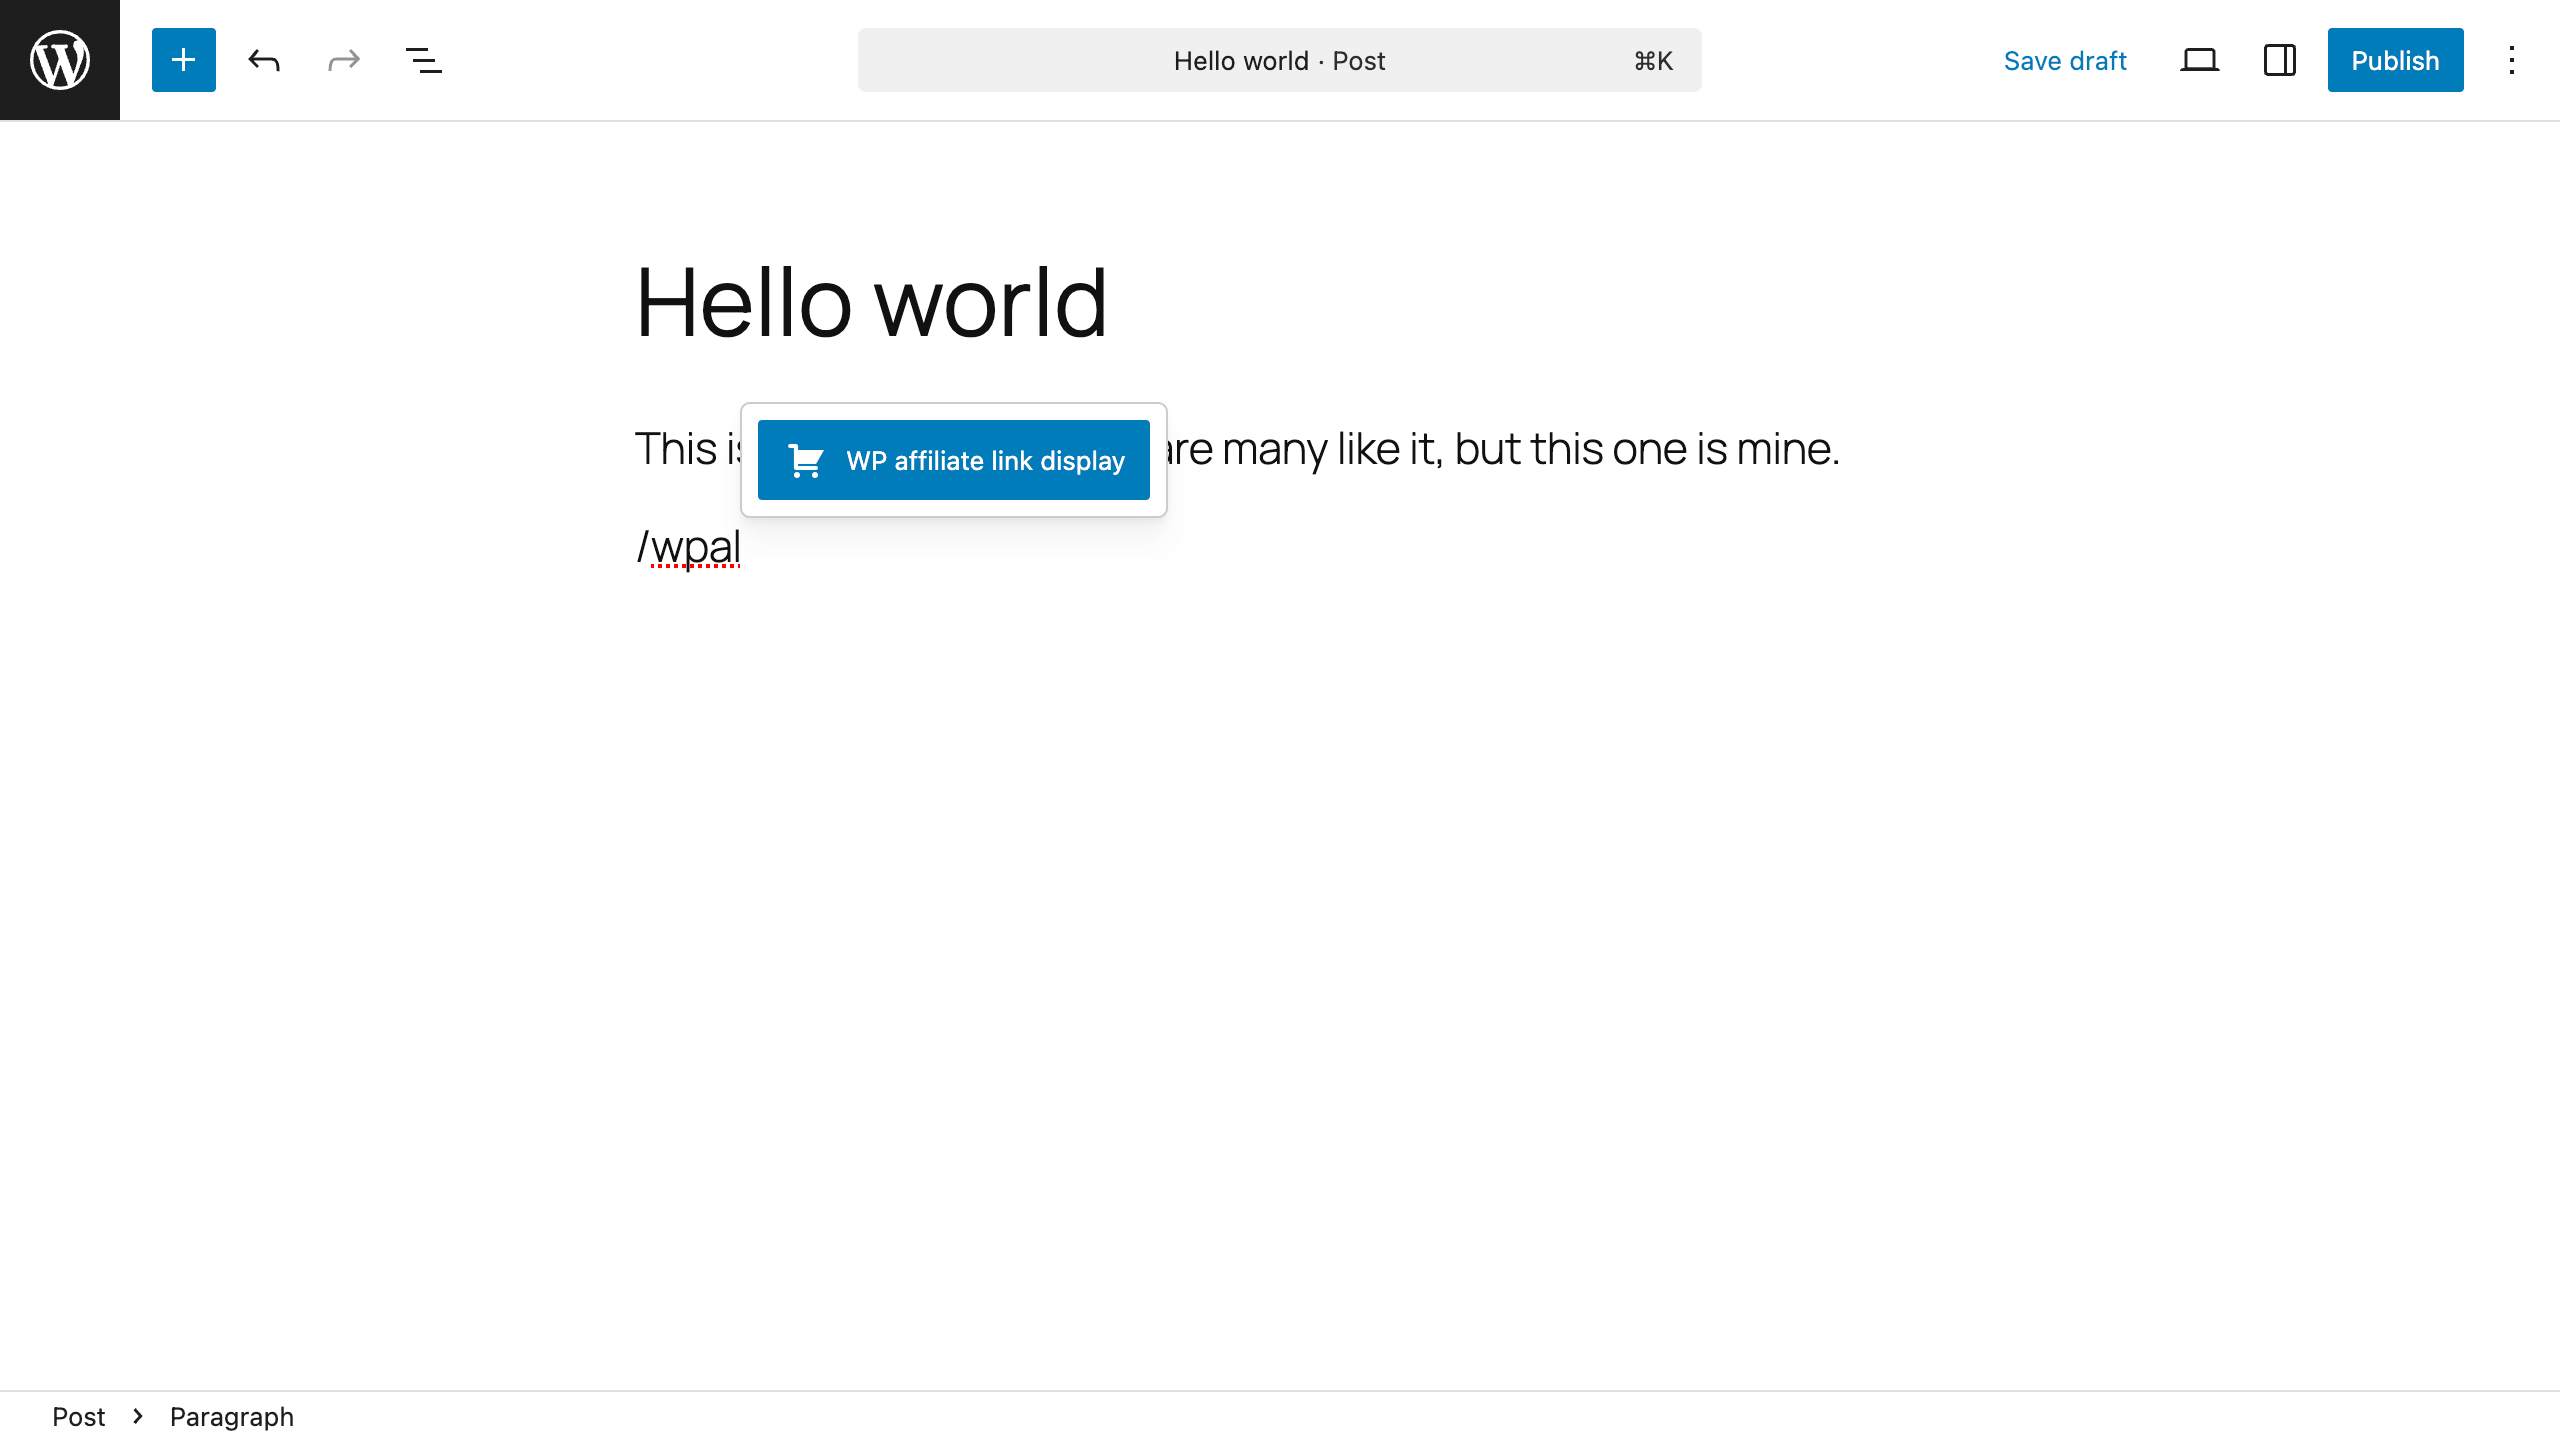
-
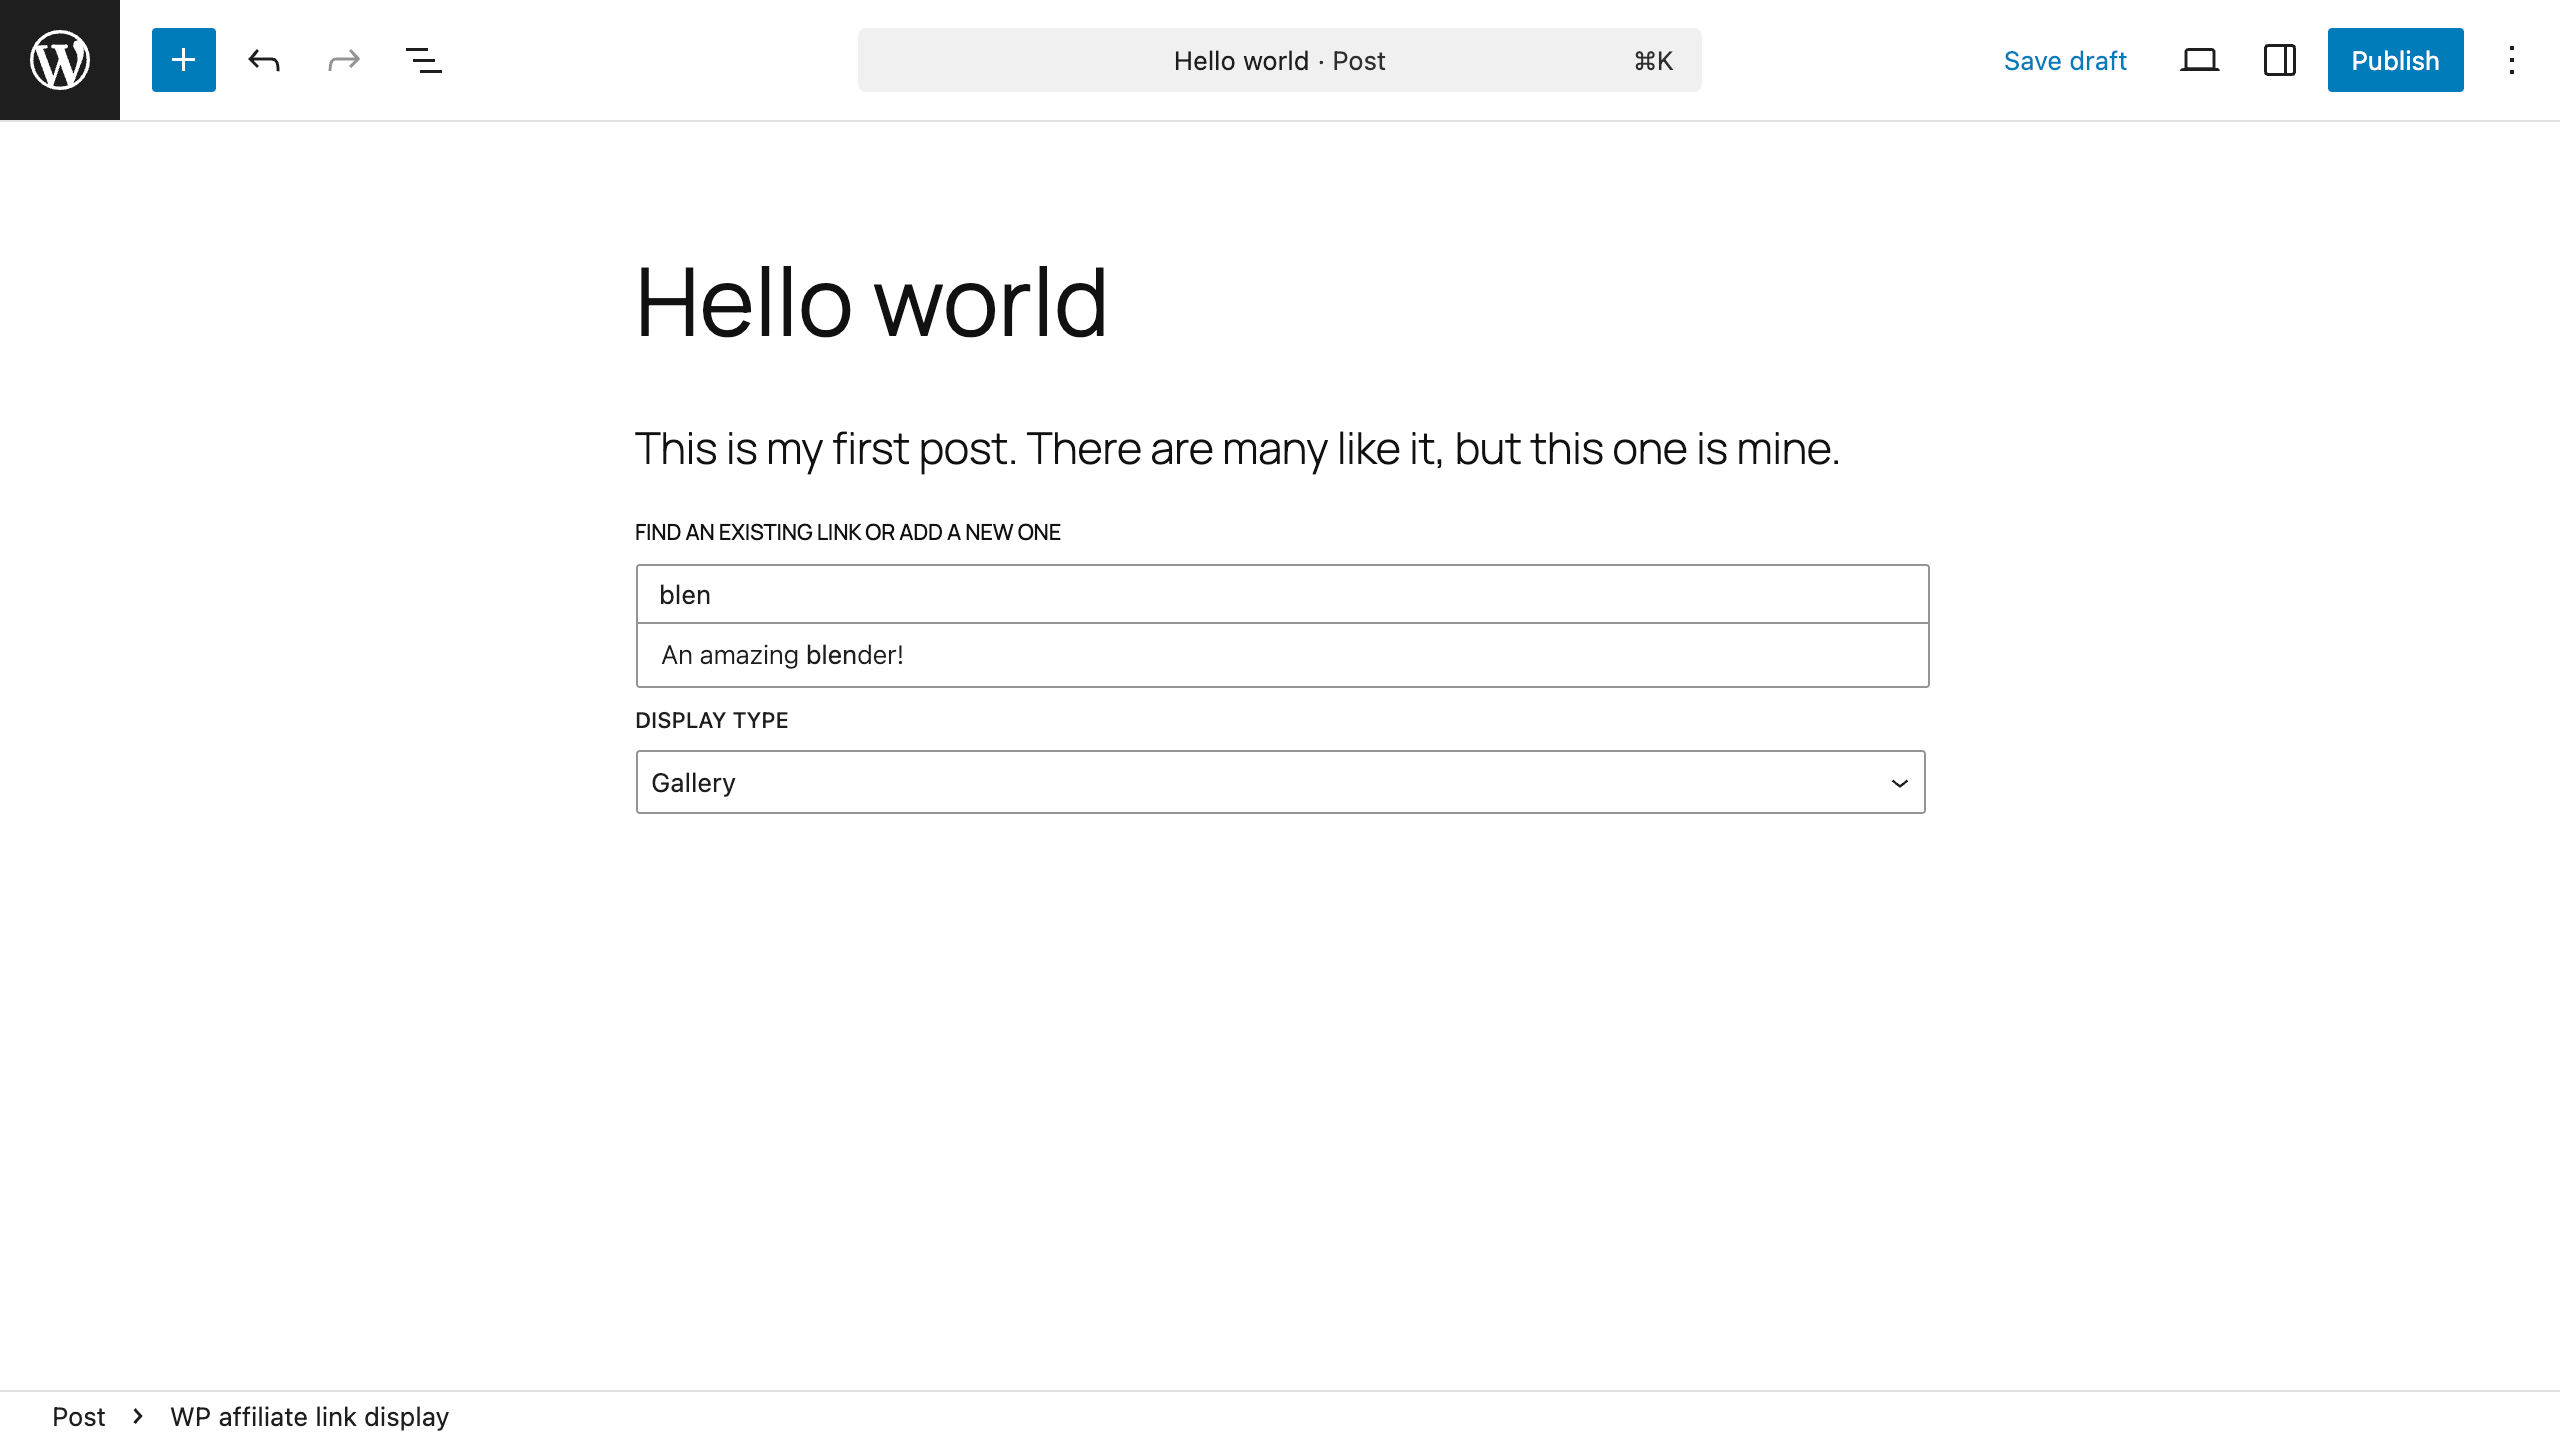
Search for your links, and add one or more to this post. If you’re trying to add a new link, you can post the URL here, and follow the create flow without leaving the post editor!
-
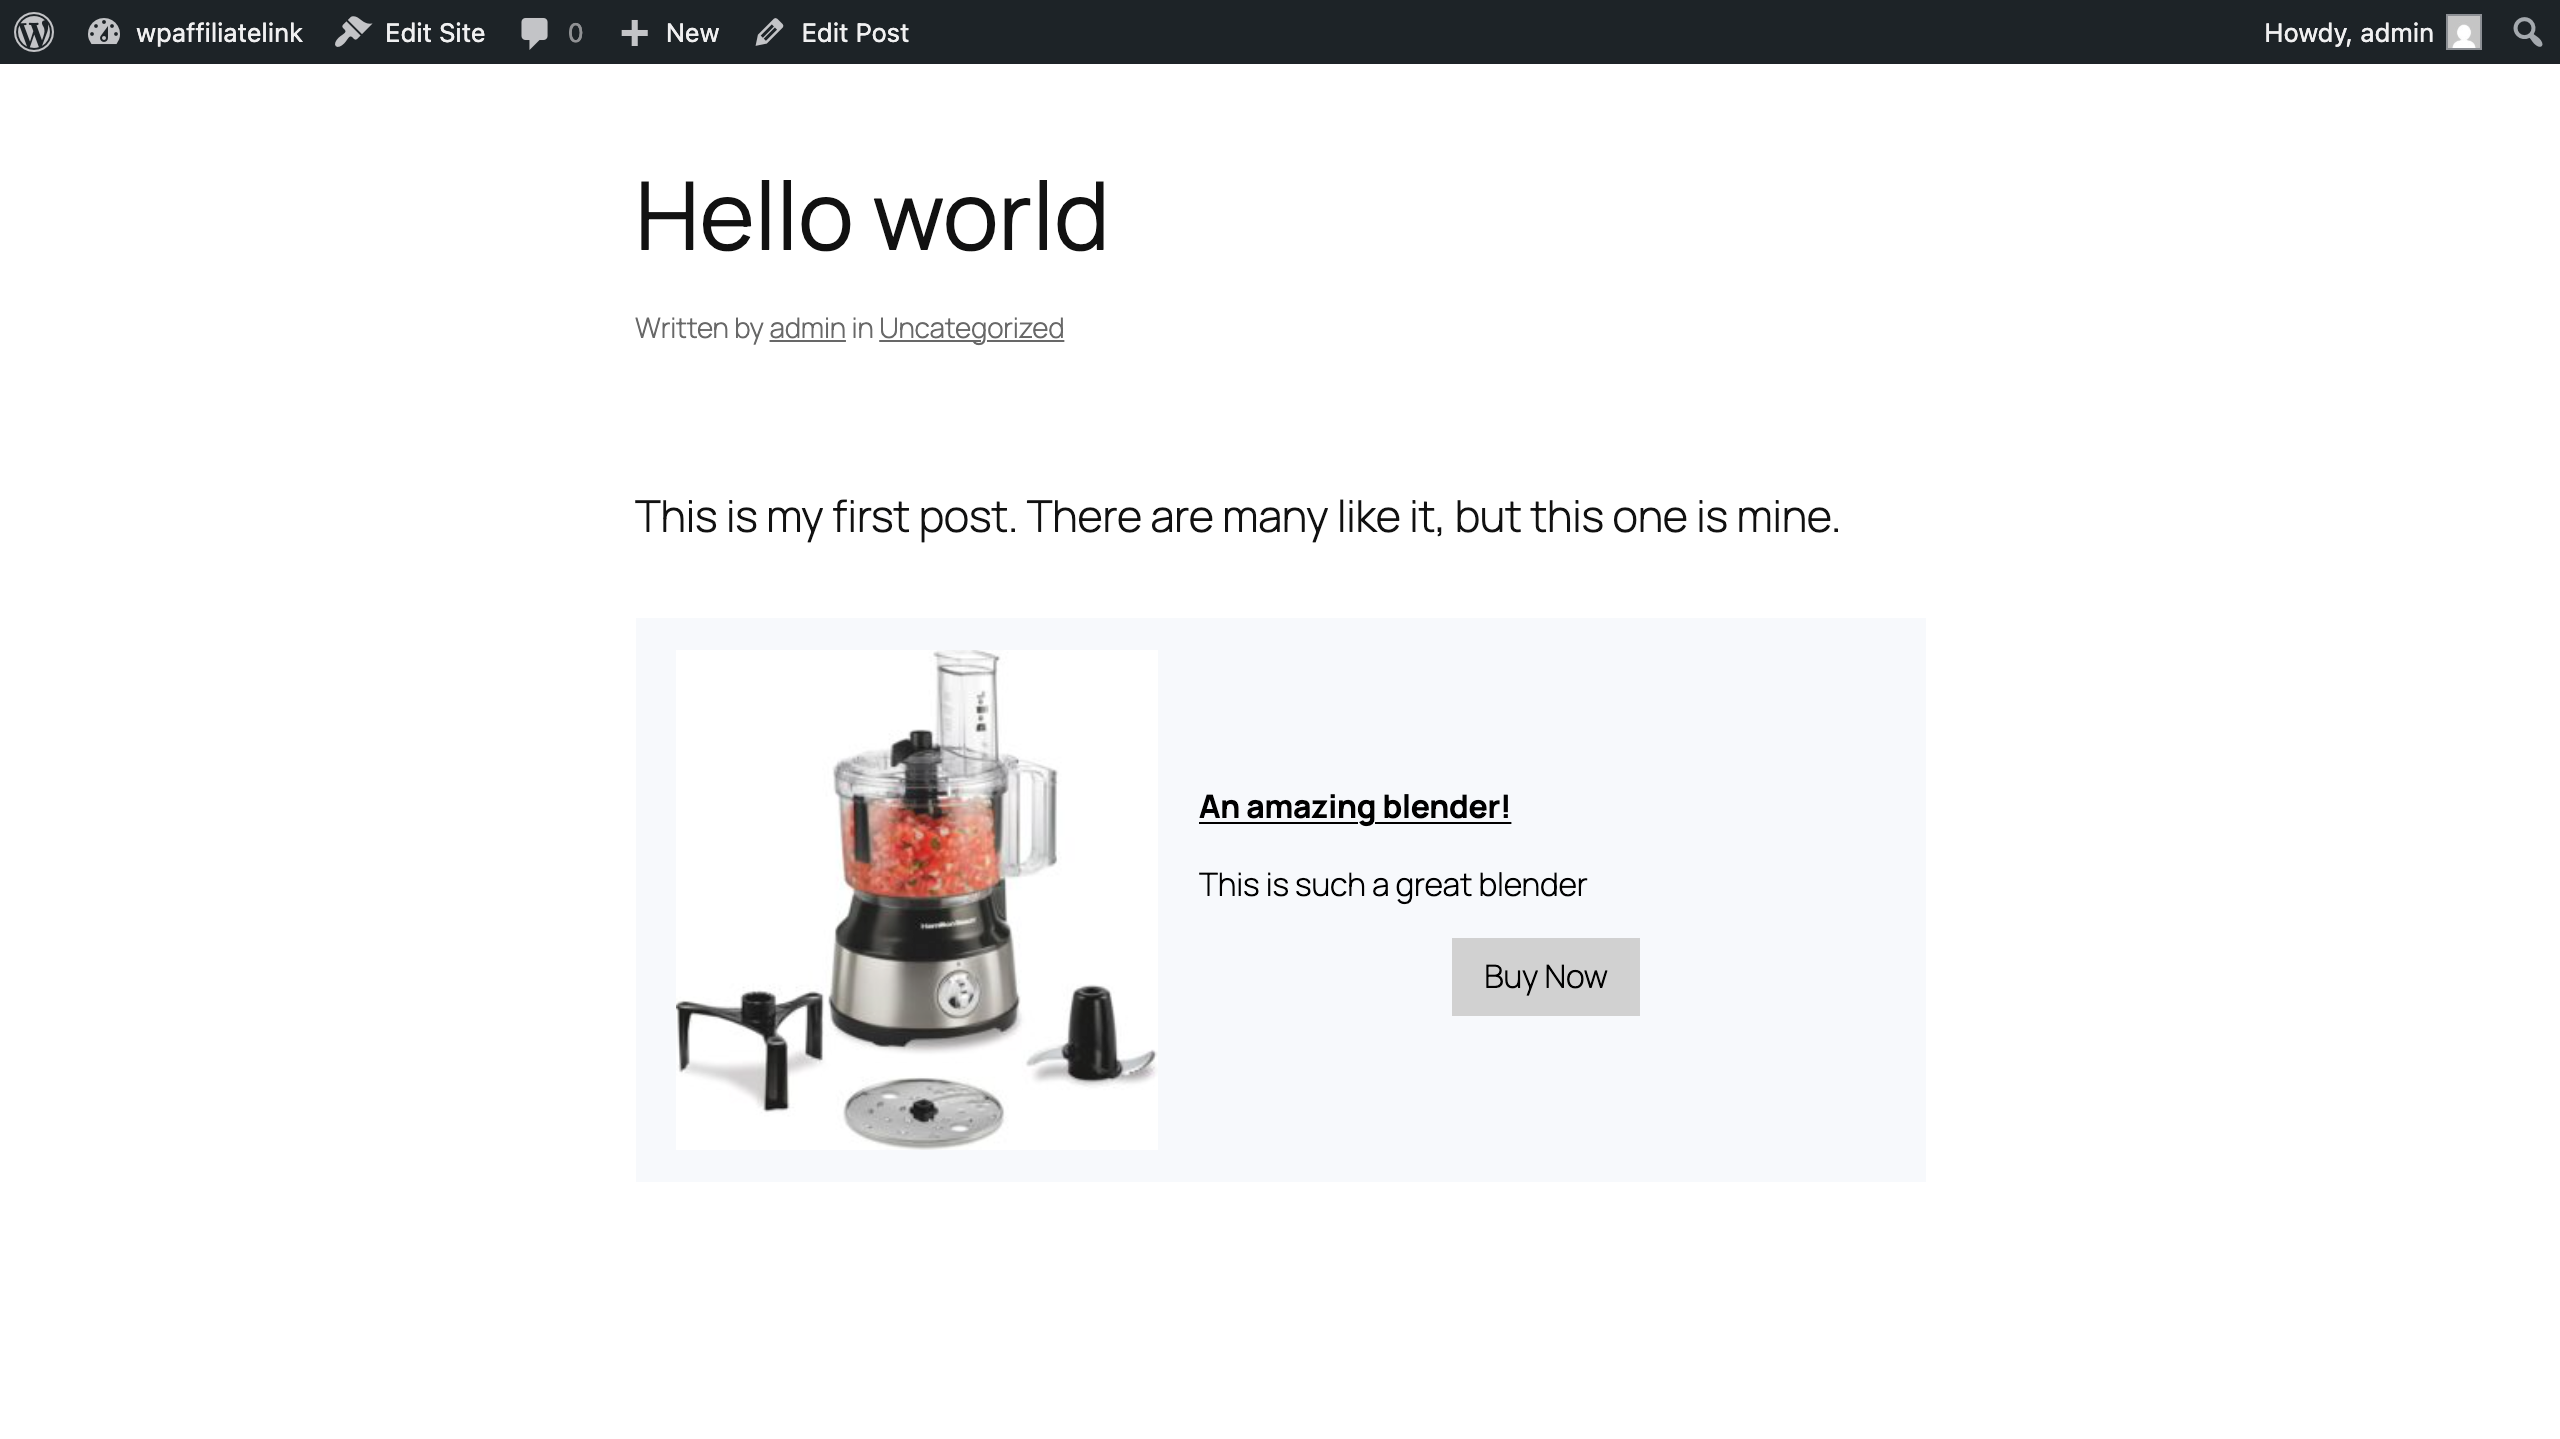
After publishing your changes, you can see the product display when viewing your post.